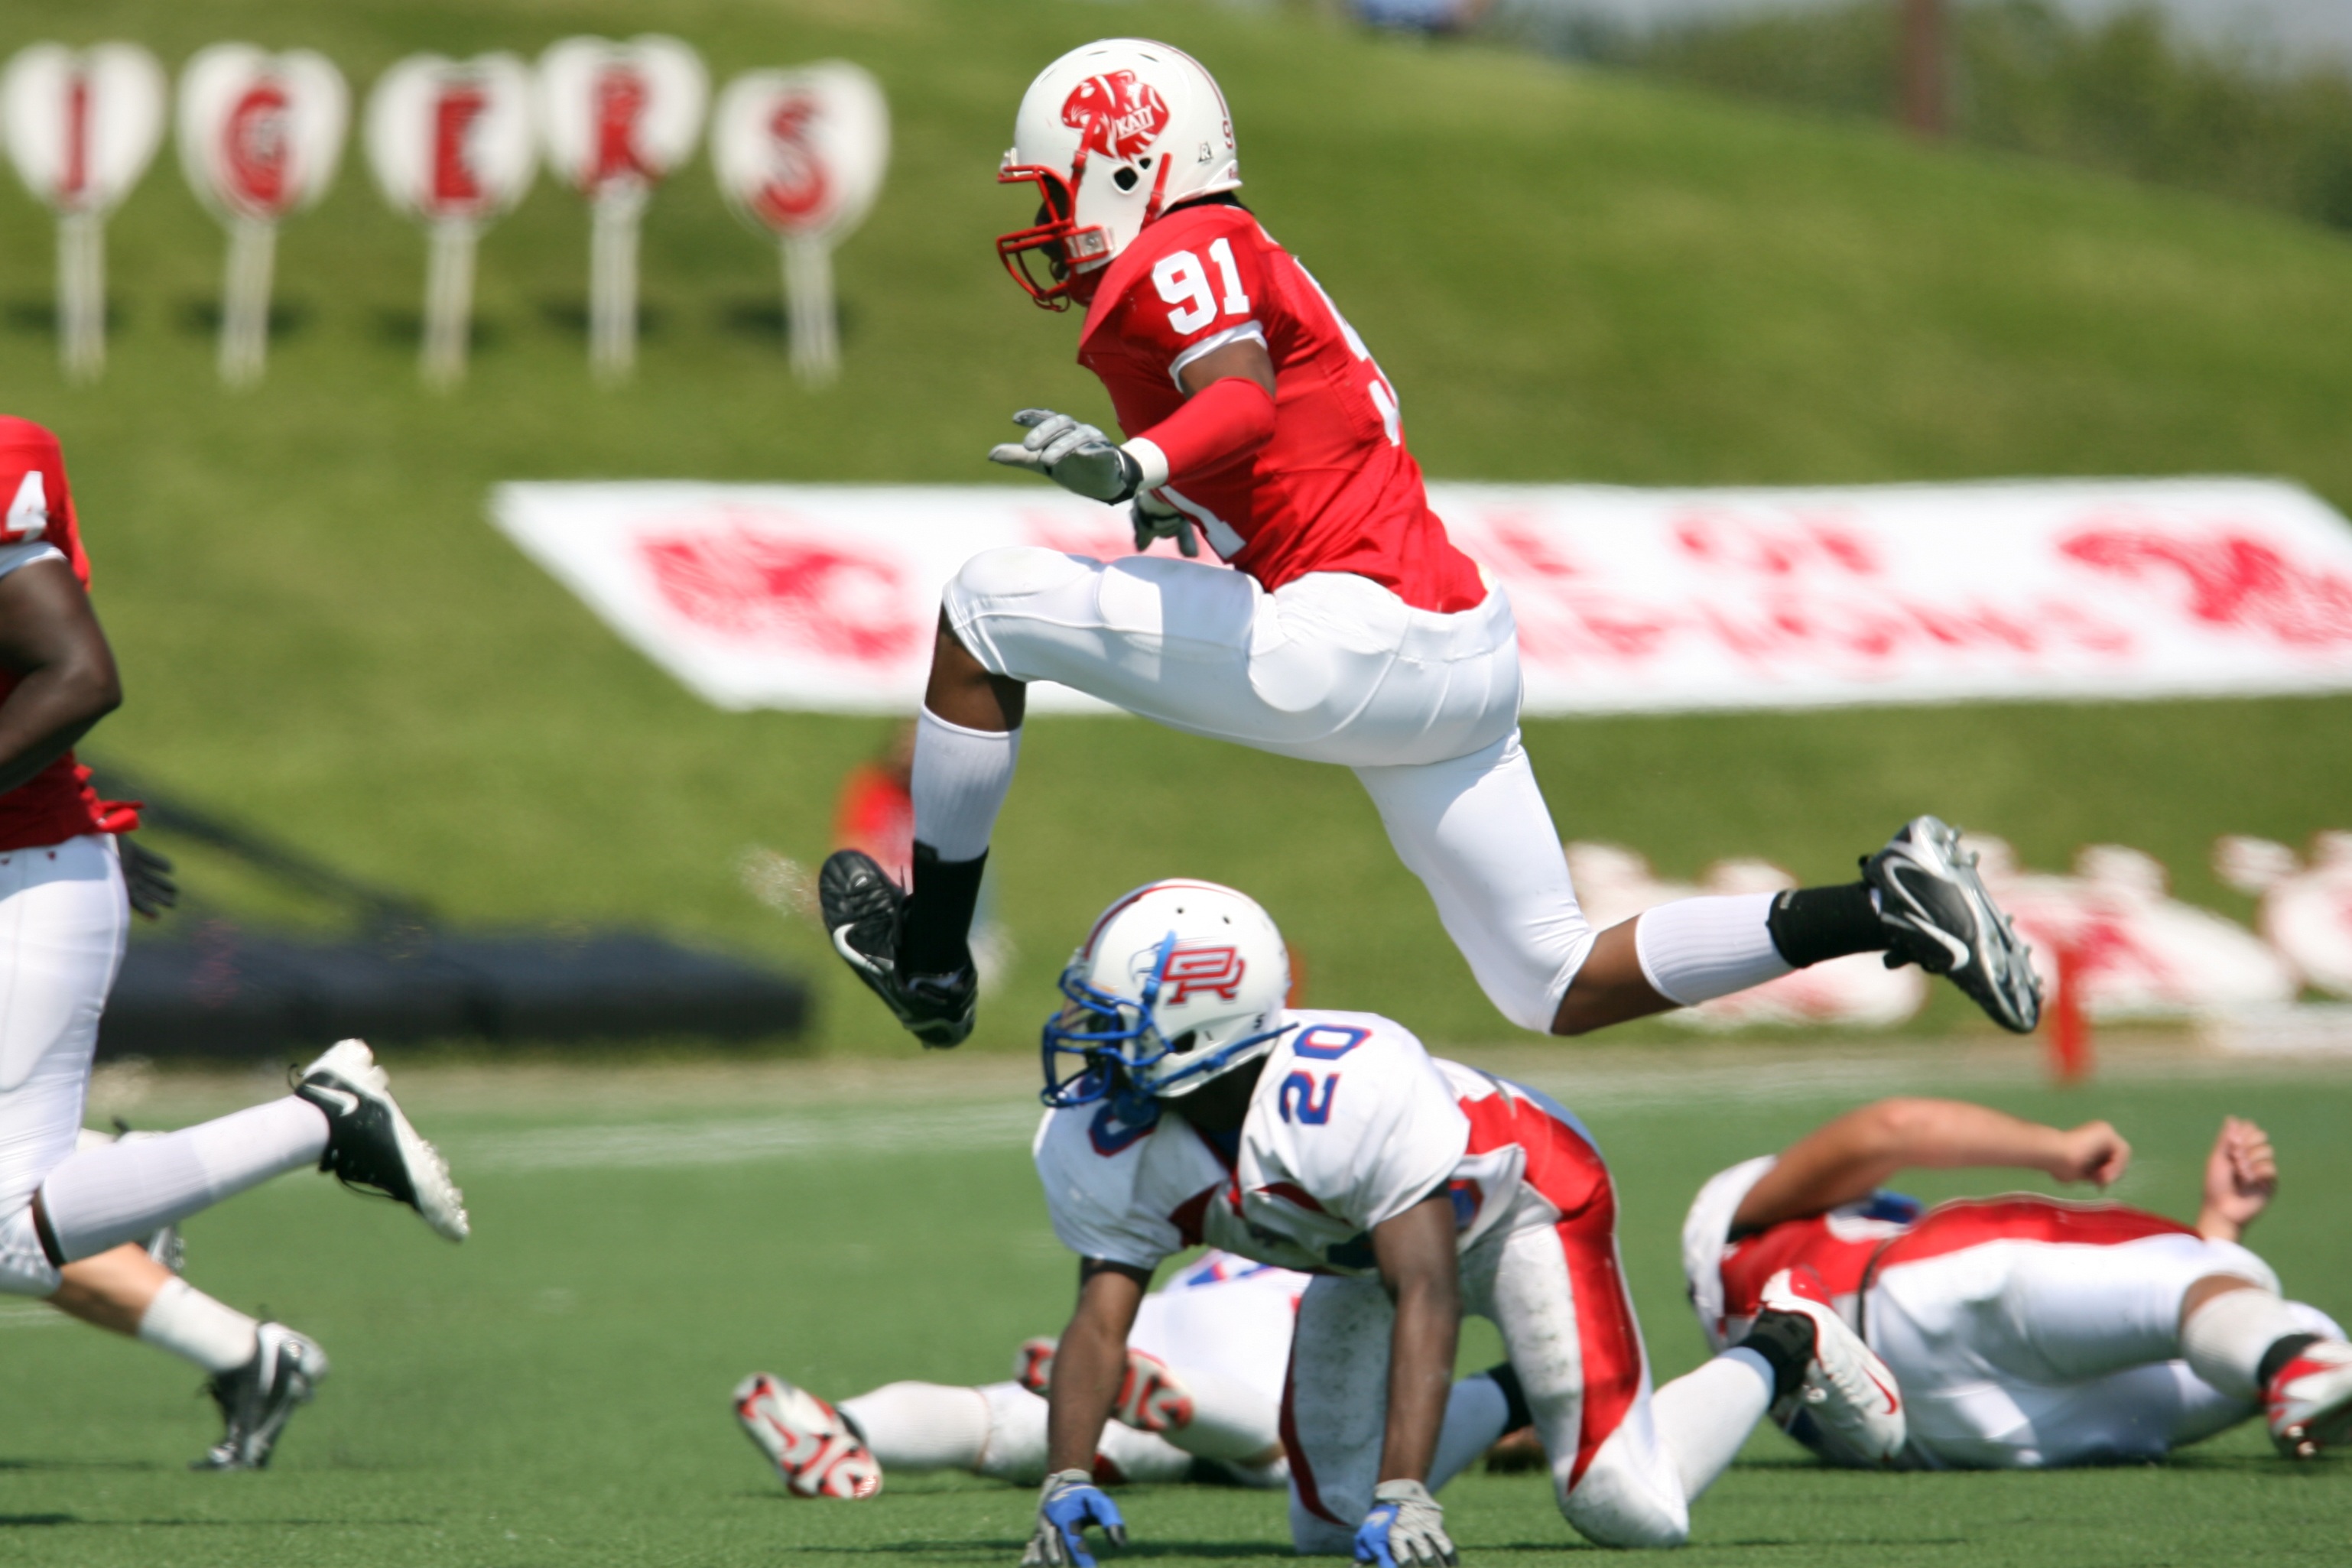
In previous posts we have talked about different aspects of sprinting. We covered the foot contacting the ground, bringing the heel up to the hip to shorten the lever, and we talked about frontside mechanics. In this post we’re going to cover bringing everything together.
Before we go any further there’s an important statement to cover: drills don’t teach sprinting. There are no magic drills that are going to make an athlete faster. Sprinting teaches sprinting. The drills we are covering help with aspects of the athlete’s sprinting, but they have to be incorporated into actual sprinting and used to reinforce what we are coaching.
When an athlete is sprinting their foot contacts the ground on the ball of the foot slightly in front of their center of gravity. The athlete then pulls himself/herself over that foot. As they pull themselves over the foot, the ankle goes into plantarflexion and breaks contact with the ground. The ankle is the “cast” (or dorsiflexed) with the big toe pulled up. The heel is brought up to the hip, the leg cycles forward so that the upper thigh is parallel to the ground (and the foot uncouples from the hip as this happens), then the foot is driven back to the ground.
We have looked at each of these parts in previous posts, now we’re going to look at how to teach putting all this together. To put this all together, we use A drills. A drills incorporate all the parts of the sprinting motion and put them together at slower speeds than in actual sprinting. This is a great teaching progression, a great warm up exercise (towards the end of the warm up), and can be used for remedial training when necessary.
The progression of the drills is to go from an A walk to an A skip. A walks are usually performed for 20-40 meters. The athlete faces the course, goes into plantarflexion with the right foot, brings the right foot to the hip, cycles that leg forward, then drives it to the ground so that the ball of the foot lands slightly in front of their hips.
When initially performing the drill, focus on one side of the body at a time. For example, A walks with the right leg for 20 meters, then A walks back with the left leg. Once the athlete is comfortable have them alternate legs. Then this drill can be sped up and become a skip (A skips) or even a job (A runs).
Originally this drill was for locations where sprinters could not sprint for several months out of the year due to cold and bad weather. In other words athletes could still train the sprinting motion and stay in shape and keep their technique.
A caution with these drills, they don’t mimic the actual sprinting motion very well. In 2004 I had an article published for the National Strength and Conditioning Association looking at sprinting technique and the drills that are used to teach it. In it I reviewed a 2000 paper by Kivi and Alexander that showed that the kinematics of A and B drills are different than actual sprinting – which should make sense as the velocities and force productions are all different.
The point here is that yes, this is a great drill for teaching aspects of technique or warm up or even remediation, but it’s not a substitute for actually sprinting!
References:
Cissik, J.M. (2004). Means and methods of speed training, part 1. Strength and Conditioning Journal, 26(4), 24-29.
Kivi, DMR and Alexander, MJL. (2000). A kinematic comparison of the run-ning A and B drills with sprinting. Track Coach, 150, 4782–4783; 4788.


