The power clean is a major lift in an athletic strength and conditioning program. It is also a lift that can be challenging to teach and coach with a large group of athletes at one time. This article is going to present some thoughts on how to coach this lift to large groups of athletes. The second part of this article will present a different approach to teaching this lift to groups.
Before we begin teaching the clean, there are two exercises that I feel that athletes should be proficient in. These are front squats and Romanian deadlifts. The front squats teach the high elbow position that’s required to have a good receiving position in the clean, they are also sport specific strength for the clean. The Romanian deadlift teach the hip hinge, develop strength in the posterior chain, and teach the chest out/shoulders back position that is crucial to a successful Olympic lift. So it’s important to spend some time on these lifts before moving on.
Once we’re proficient with those two exercises, we’re ready to begin learning the clean. I have used two very different approaches with the clean teaching 30-40 athletes at a time, both work really well for large groups of athletes. It just depends on why you are doing the lift. If we’re doing the lift with the possible intent to compete in the Olympic lifts, then I like the second approach better. If we’re using it to make us more explosive athletes and to help our sport, then I like the first approach better.
Traditional Top Down Approach:
So let’s start with the first approach. I call this the traditional, top down approach. This is advocated by a lot of those old Eastern European texts and is how USA Weightlifting advocates teaching the lifts. It really drills in key positions with the athlete and does a great job of strengthening the muscles along their spine as well as their posterior chain.
Before we get into the steps for this approach there’s one important thing to mention. Coaches need to keep the explanations and talking to a minimum when teaching this lift. Nobody cares about what each pull is named, nobody cares about power outputs, wattages, vertical force production, etc. All that stuff is to make you sound smart but it will lose your athletes. Focus on what is essential, let them practice, and then provide feedback when it is absolutely necessary!
This approach has several steps:
- Teach the above the knee position
- Teach the hip extension
- Teach the hip extension, plantar flexion and shrug
- Teach the explosion
- Teach the explosion efficiently
- Hang power clean, bar at above the knee height
- If necessary, teach different starting positions
The above the knee position:
I like to start with the “above the knee” position first. For many athletes performing the lift like this is all they will need so this is an important step. For this approach, athletes stand up and take their front-squat grip on the bar. They should stand up with the bar in their hands, take a deep breath and elevate their chest, and then pull their shoulders back. I like to cue this as “big chest” or “shoulders back.” They should maintain this position throughout the lift. Nothing good happens if they slump forward.
From here, the athlete should rotate their elbows so that they are facing out (this is important later on). They will unlock their knees and push their hips back. As they push their hips back the barbell will slide down their thighs until it is at mid-thigh. If they do this properly then, looking at them from the side, their shoulders will be ahead of the barbell. Again, this is important later.
It’s easy enough to have a large group of athletes practice this position and hold it while a coach inspects it and offers feedback.
Teach the hip extension:
This step teaches how to use the hips and it also begins to teach the importance of keeping the bar close to the body. The athlete begins this step in the above the knee position described above. Recall that the shoulders will be ahead of the bar, which allows for the posterior chain to be employed in this step. From here, the athlete will extend their hips until they are tall, keeping the bar close to the body. Think of this step as a mini-Romanian deadlift.
Teach the hip extension, plantar flexion and shrug:
Now all the elements of the explosion are put together in slow motion. The athlete should assume the above the knee position. They will slowly extend their hips, shrug their shoulders up, and rise up on their toes close to simultaneously. At this stage this should be a slow movement. An emphasis should be made on keeping the bar close to the body. One of my cues is that the bar should be lifting their shirts up. We also want to keep the elbows rotated out so that it is difficult to make this a bicep exercise (if the elbows are flexing we will have an issue later on in the lift).
Again, it’s easy to have a large group of athletes practicing this phase while a coach walks around the room and gives feedback.
Teach the explosion:
Now that we have the movements down in slow motion, it’s time to make them explosive. In this step the athlete will move to the above the knee position. Here, we’re going to teach them to explode during the lift by cueing them to “jump and shrug.” This means that the hip extension needs to be violent enough to lift them off the ground while they shrug their shoulders up. It’s important to ensure that the keep the bar close to their body (bar moves up, not away) and they refrain from pulling with their biceps.
Teach the explosion efficiently:
Ultimately performing the lift as described above is incredibly inefficient and ugly to an old Olympic lifting coach. The idea is to do enough to get the bar to the shoulders but not to do more than is necessary. With that in mind, the athlete will move into the above the knee position. From here I’ll tell them to “Jump and shrug, but stay on the ground.” In other words, now we’re going to explosively extend our hips, rise up on our toes, and shrug our shoulders up but without leaving the ground. Again, the focus is on keeping the bar close to the body (up not out) and refraining from using the arms to pull it.
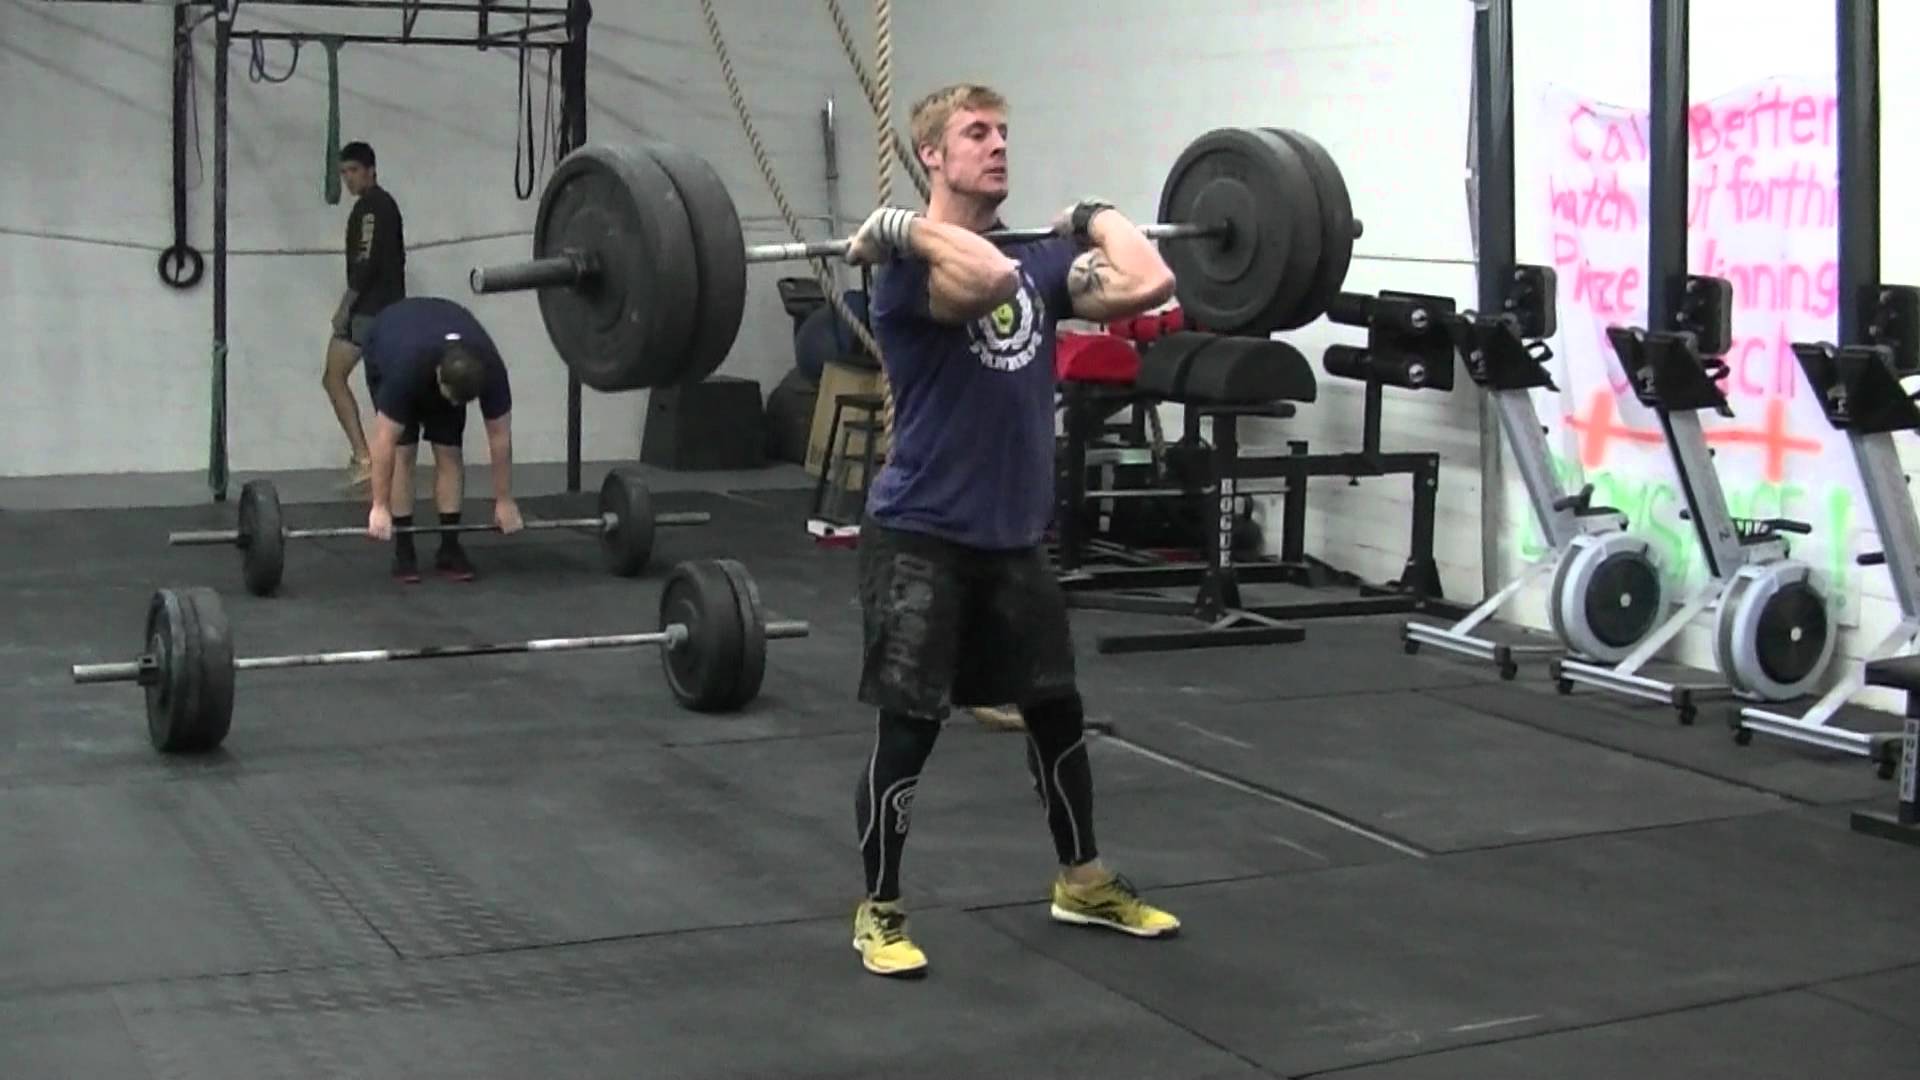
Hang clean, bar at above the knee:
The athlete is now ready to put everything together and catch the bar. Have the athlete move into the above the knee position. In this step I tell them that a few things are going to happen. First, they need to jump and shrug but stay on the ground. Second, this is going to make the bar move up their body. They need to relax their arms and let that happen. Finally, they need to move under the bar and catch it on the front of their shoulders (think front squat!). I try to avoid over talking this stage, sometimes a few reps will iron out mistakes. Other times we’ll need to take a step or two back, which is fine. This step can also be done with a large group of athletes and a coach walking down the room because it’s a technique step, not a “lift heavy weight” step.
I have gone through these steps in a day and I have also had to take a few weeks to go through them. But at the end you have athletes with a pretty solid take on how to do the power clean from the above the knee position. If you are going to start the bar from lower positions (the knee, below the knee, and the floor) then I would spend a minimum of four weeks at this position before lowering the bar. Then spend four weeks at each position until you end up at the floor. This allows the athlete to become stronger and solidifies their technique before making things more complicated.
The second approach:
The second approach assumes that we’re teaching the lifts for competition. In other words, we want to learn to pull the bar off the platform and catch it in a full squat prior to standing up and jerking the weight overhead. I have also used this approach to teach groups of 30-40 the full clean (i.e. the squat variation). This takes a different approach than the traditional one:
- Teach approaching the bar on the platform
- Teach the first pull
- Teach lifting the bar to mid-thigh
- Teach the hip extension
- Teach the hip extension, shrug and plantarflexion
- Teach the explosion
- Teach the explosion efficiently
- Teach receiving to a squat
- Teach the full clean
Now that I’ve previewed this, the second approach will be next week’s blog!